How To Fix A Deep Freezer
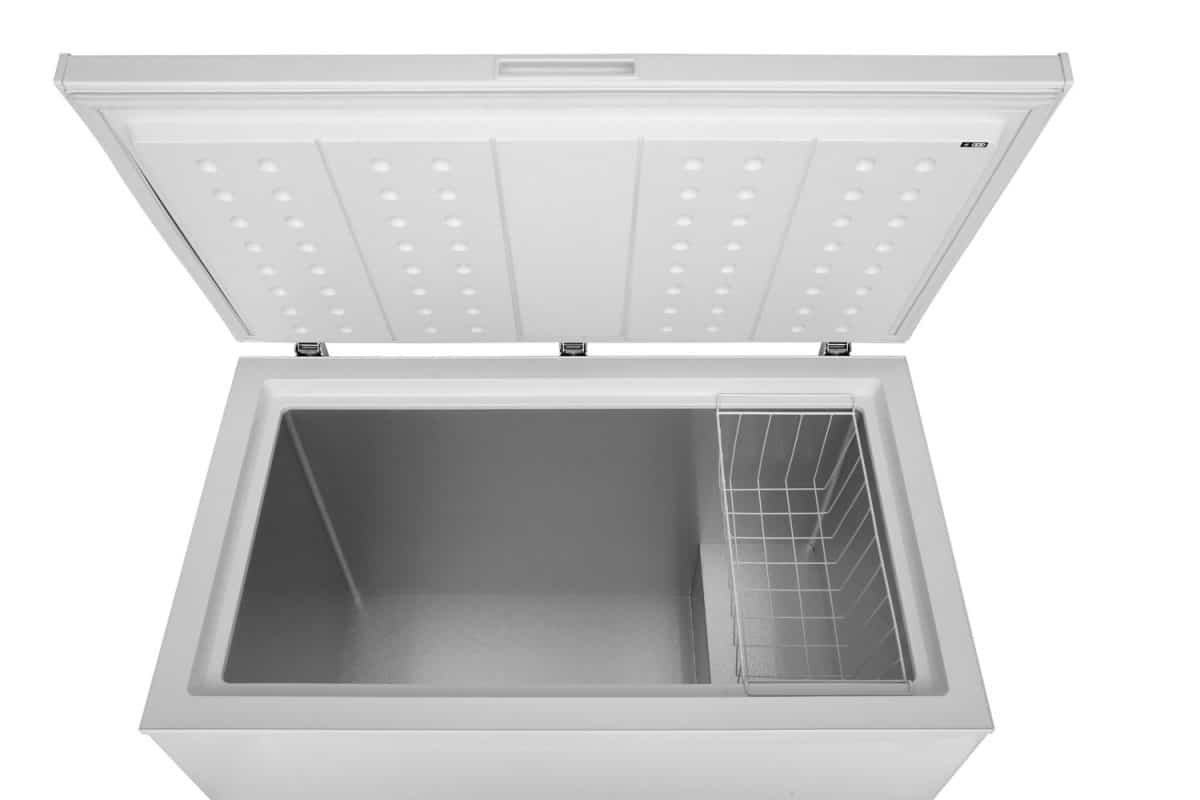
Chest freezers are convenient when you're looking to store and access large numbers of frozen food or drinks. But problems can come up when you are not careful enough with handling it, especially when rushing to defrost it with other tools. When you accidentally make a puncture, you might be wondering if it is possible to fix it and what happens to the freezer itself. We looked up these concerns for you and summed up the answers in this post.
Puncturing a chest freezer can occur either on the interior or exterior of the freezer. If you are dealing with a hole in a chest freezer, here is what you should do:
- Turn off the freezer once you identify the location of the hole.
- Empty, dry, and defrost the freezer.
- Fill the freezer's puncture with silicone or caulking.
- Let it dry completely before turning it back on.
Depending on the placement of the hole, you may need to perform different repair methods. Smaller, simpler punctures can be repaired with a proper sealant. Keep in mind that complicated concerns will require more work, if not a complete replacement.
Now, what exactly happens when a chest freezer has a hole, and how should you handle it? Are there other methods and materials available for use to repair the freezer? Keep reading as we delve into these points.

Can A Chest Freezer Be Repaired?
Yes, you can repair the damages in a chest freezer. Due to some manual defrosting methods, mishaps like puncturing the freezer may occur. Specifically, the depth of the hole determines what steps you should take to make the needed repairs.
A puncture in the interior of the freezer is more prone to other internal damages, particularly those involving the freezer systems. The heavy impact from outside factors can also create holes in the exterior parts.
To start with the repairs, prepare the following items:
- Hacksaw
- 300-grit sandpaper
- Rubbing alcohol
- Paper towels
- Metal file
- Bonding glue
- Aluminum
- Silicone or epoxy sealant or caulk
When you have these tools ready, here is how you can repair a hole in your chest freezer:
1. Turn off the freezer Once You identify the location of the hole
The first step in repairing a chest freezer is to determine the location of the hole. These could be either on the exterior or interior of the freezer.
Look out for any hissing sounds, chemical smells, and leakages since these indicate the refrigeration system is harmed. If this is the case, contact a professional to help you.
If the damages are cosmetic, you can fix them up yourself by sealing the holes. Once you determine the severity of the puncture and its location, proceed to turn the freezer off.
2. Empty, defrost, and dry the freezer
When dealing with holes, you will have to defrost the freezer for better application, especially when the puncture is inside. Take out the perishable products to allow the chest freezer to defrost.
Avoid using extra tools to reduce further damages. Dry the freezer after defrosting.
This step includes any further freezer preparations. If the hole created sharp or unfinished edges, use the metal file to carefully sand them down. Thoroughly clean the area of the damage with rubbing alcohol and paper towels.
3. Fill the freezer's puncture with silicone or caulking
Sealing the hole is the main point of the repair, so you should use a product appropriate for the job. In choosing a sealant, pick one that can withstand colder temperatures to ensure safety.
From the exterior side, apply the product as needed then leave it to dry. Cut off any excess foam with the hacksaw. To keep it flush with the freezer, sand it down with 300-grit sandpaper.
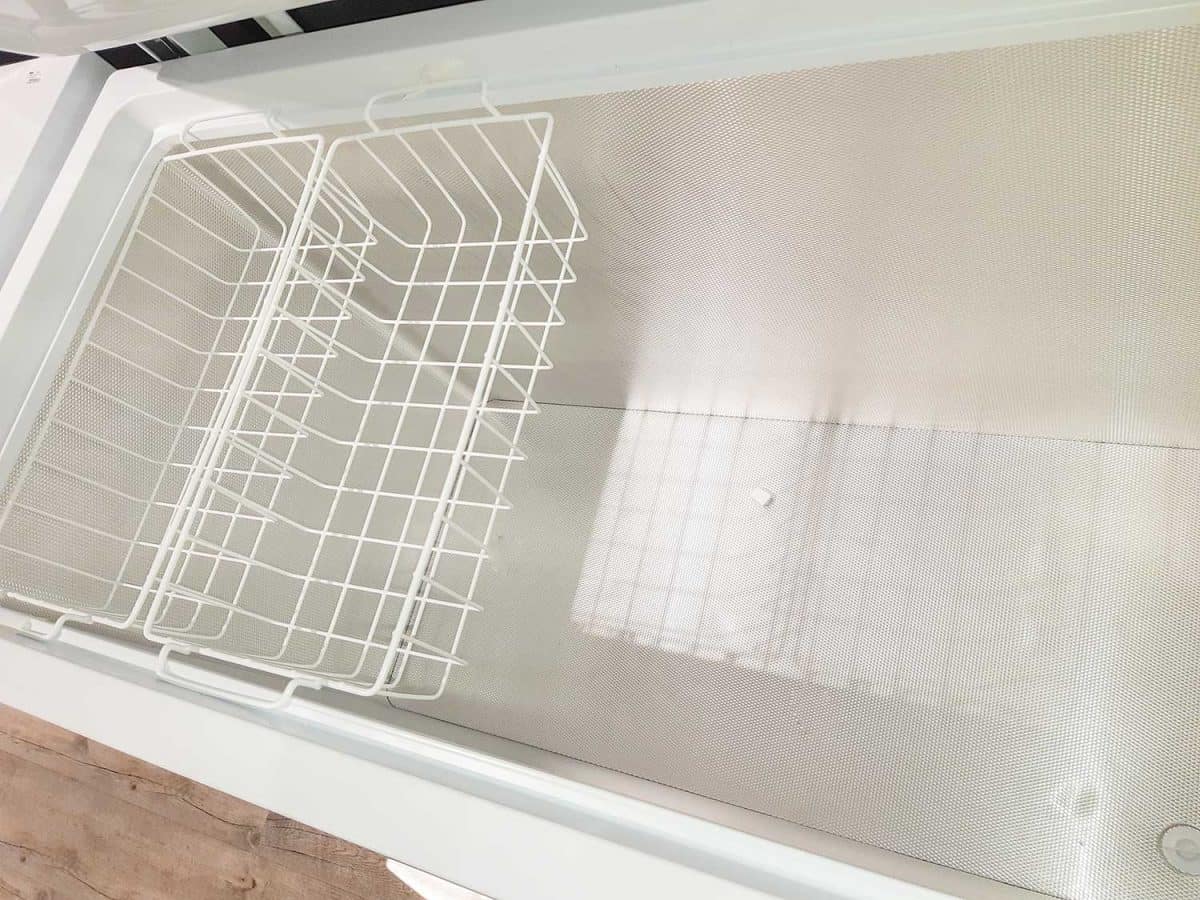
On the inside, measure the size of the hole to repair. Cut the aluminum into a square big enough to cover up the hole. Sand down any excess sealant foam to keep the area flat.
Apply bonding glue around the hole and caulking around the edges of your aluminum square. Press it over the hole and firmly hold it in place for 5 minutes or until it is secure.
4. Let the freezer dry completely before turning it back on
Most sealants will dry in about 2 to 3 hours after application. For better results, leave it for 24 hours to dry and settle before turning it on again.
You can paint over the sealant in the exterior once it dries, but be sure to complete this before it cures. Tape around the area of the hole to cover up spaces that don't need painting. Apply a color that matches the chest freezer's original color, then peel off the tape after drying.
How Do I Fix My Freezer Liner?

The repairs needed for a chest freezer may vary on what part of the freezer gets damaged. These commonly affect how the freezer maintains consistent cooling, regardless of where the breakage is.
The sides of a chest freezer are more likely to undergo harm because it takes up larger space. Damage on the sides could affect the systems within the freezer if the holes go deep.
It is also possible for a freezer liner to get damaged with punctures. These are usually cosmetic damages since they do not directly affect the freezer system. Still, it is crucial to fix them sooner to sustain freezer quality.
Follow these basic steps to repair a damaged freezer liner:
- Prepare sandpaper, latex gloves, a clean cloth, and a freezer liner repair kit.
- Clear out the chest freezer of any food and drink, then shut the freezer off.
- Sand down the damaged area on the freezer liner.
- Take the fiberglass cloth from the kit and cut to about 3/4 of the puncture's size. Place it over the hole and stretch it for a snug fit.
- Apply a thin layer of the sealant included onto the fabric. Press on it with slight pressure to let the adhesive bond.
- Touch it up with another layer of sealant, then leave it to dry.
If you want to know more about damaged freezer liners, check out our post: Damaged Freezer Lining – What To Do?
What Happens If You Poke A Hole Into Your Freezer?

Sharp tools, like a screwdriver or knife, could create a puncture in the freezer by accident. And so, it poses the risk of damaging the freezer. Even if some holes are not deep enough to harm a chest freezer, they should still be covered up.
A hole in a chest freezer mainly causes problems with its ability to cool the inside. An opening makes it harder for the air to circulate consistently and maintain temperature. As a result, frozen food or drinks may spoil due to temperature fluctuation.
Compared to upright freezers, a chest freezer usually does not have an auto-defrost feature. While this is good in storing food for extended periods, it could be an issue when you do have to defrost it. Manually defrosting takes a while, so using tools to speed up the process is a common option.
Read more about defrosting chest freezers in this article: How Often To Defrost A Chest Freezer.
Can You Use Flex Seal In A Freezer?
An option you can consider for sealing holes in a chest freezer is Flex Seal. The liquid rubber sealant works when applied to various materials, including metal, aluminum, and plastic. It is designed to close up holes and cracks in different areas, such as those harmful to appliances.

Check out this product on Amazon.
When choosing a sealant for a freezer, it is vital to check what temperatures it can handle. Although Flex Seal's liquid variant can withstand temperatures between -80 to 350 degrees Fahrenheit, the manufacturer recommends applying it at 32 to 120 degrees Fahrenheit for best results.
Flex Seal comes in a can or spray bottle for quicker application. These are helpful when dealing with a puncture or hole that requires precision. It usually dries in 2 to 3 hours but will completely cure within 24 hours and strengthens over time. If you are looking to paint over it, note that you should do so when it dries and before it fully cures.
Can You Use Super Glue In A Freezer?

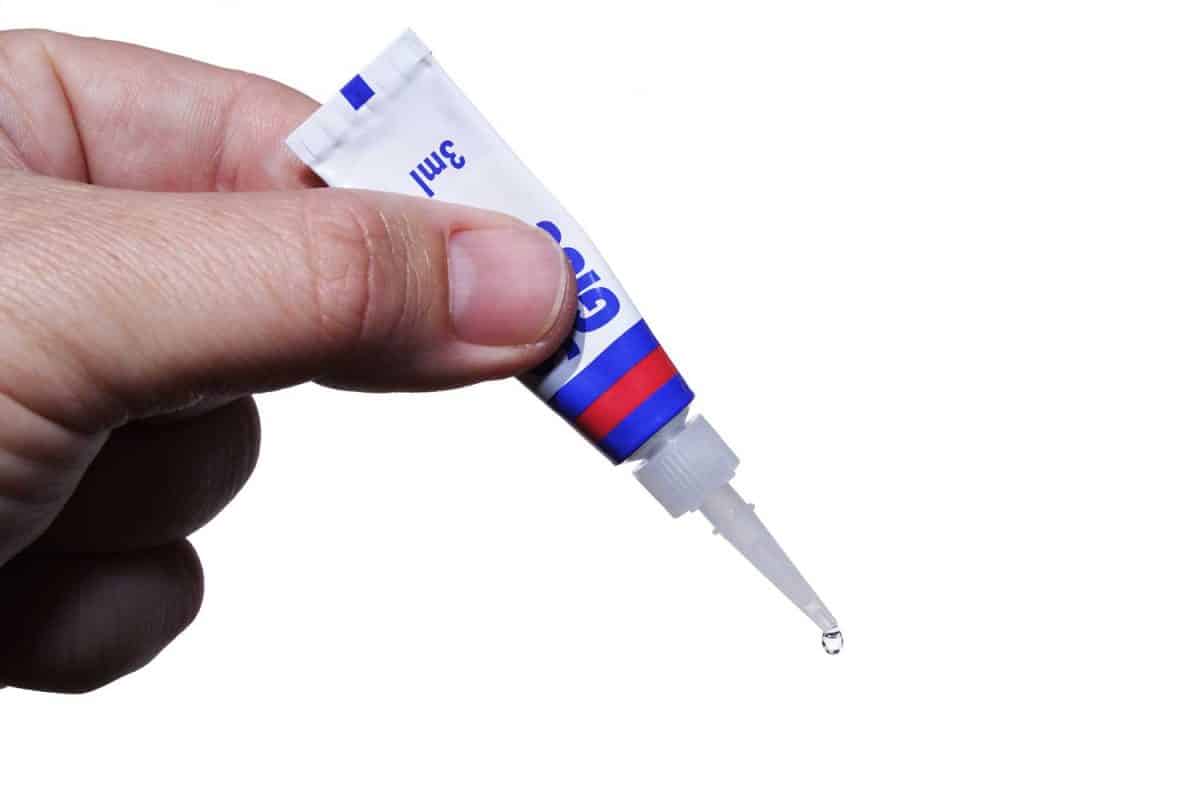
Applying super glue directly to a freezer hole may cause further issues instead of clearing the problem. The adhesive may not stick on certain surfaces, like metal, meaning contamination may occur. Most recommend using baking soda with super glue as a filler for cracks or holes.
Before you use super glue, note that it has a high tolerance to cold temperatures. Colder conditions slow down its ability to settle and stick. Unlike sealants, they should be applied under room temperature for best results. It may remain in a liquid state, thus, affecting the freezer negatively.
When using super glue to make repairs to a freezer, ensure it is unplugged and defrosted well before starting. Most super glue choices are resistant to the cold. However, humidity affects how quickly it dries, wherein the adhesive will cure faster when exposed to more moisture.
For more insight in choosing which glue to use during freezer repair, look into our post: What's The Best Glue To Use When Fixing The Freezer?
To Summarize
A chest freezer can last a while in top condition with proper care. If you find that your chest freezer has a puncture or hole, you should repair it as soon as possible. The freezer could experience further issues when you leave holes for extended periods without remedy.
As with other cosmetic damage, fixing a hole in a chest freezer mainly involves closing up the puncture with an appropriate sealant. If the other components of the freezer are compromised, particularly the systems inside, it calls for professional help.
How To Fix A Deep Freezer
Source: https://forfreezing.com/how-to-repair-hole-in-chest-freezer/
Posted by: laraopeashom.blogspot.com

0 Response to "How To Fix A Deep Freezer"
Post a Comment